 Capa
CapaBuild a model
Create a model, add fields and relations, and set it up before your team starts writing.
A model is a content type: Article, Author, Product. This page walks through making one in the admin, from the name to the last field.
You need the Admin or Developer role.
Plan it first
Once a model has entries, changing a field means converting the values already stored. Before you start, sketch on paper:
- The models, one per kind of thing on the site.
- The fields each one needs, and which are required.
- The links between them: an article has an author, a product has related products.
- Which models hold one entry only, such as site settings or a home page.
See Content model for every field type and what the API returns for it.
Create the model
- Choose Models, then New model.
- Fill in Unique Model Name, such as
Article. - Check the Namespace. Capa fills it in from the name:
Blog Postbecomesblog_post. This is the name your code uses, so keep it short and plain. - Optionally pick a category under Specify Category, or type a new one.
- Set the Model Options you need.
- Choose Create Model.
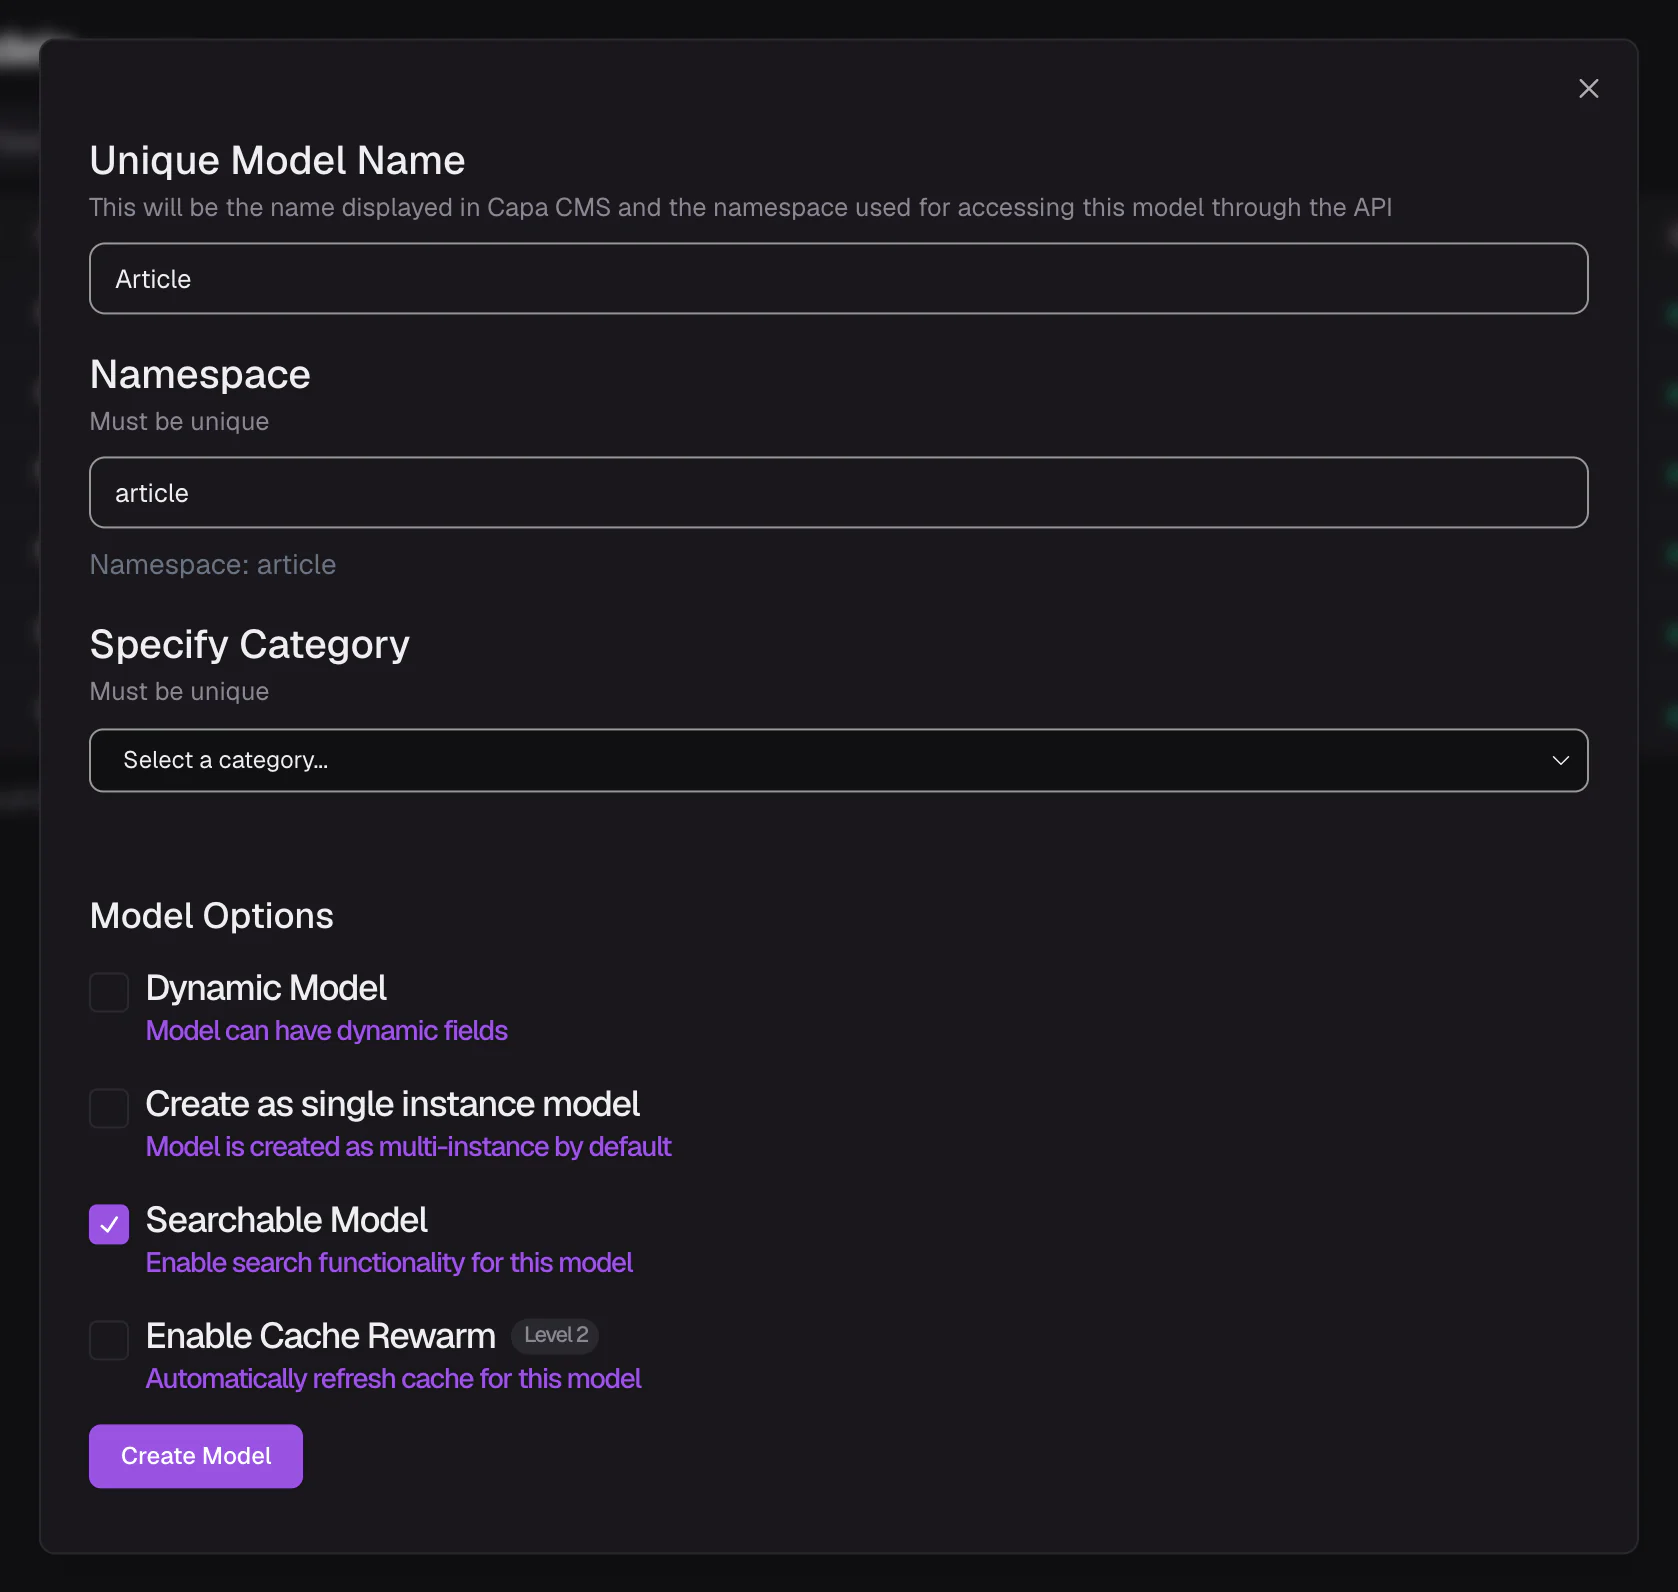
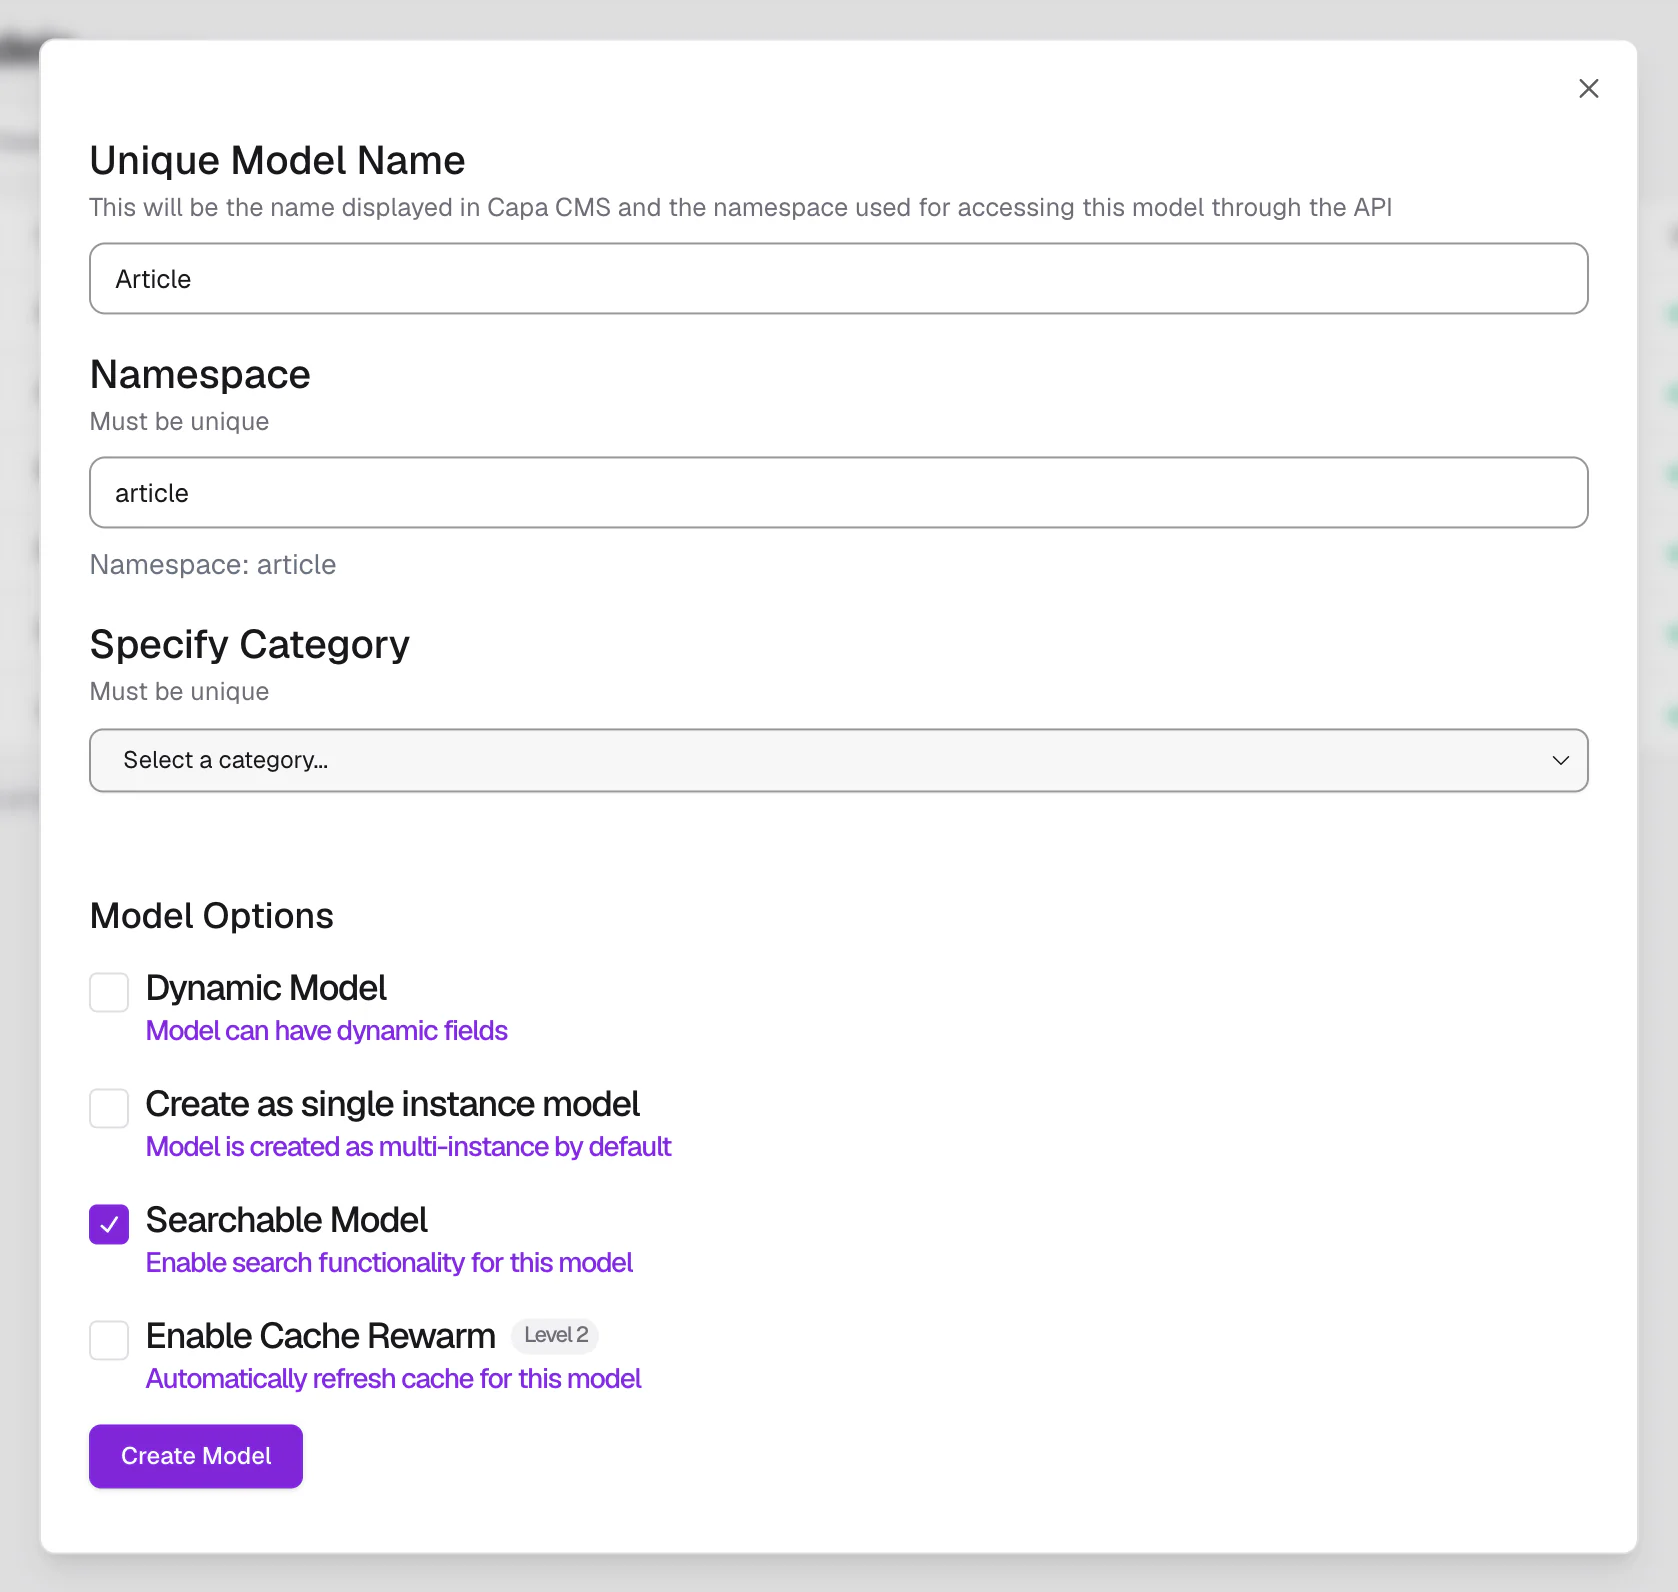
| Option | Turn it on when |
|---|---|
| Create as single instance model | The model holds exactly one entry, such as site settings. |
| Searchable Model | Its entries should be indexed for search. On by default. |
| Dynamic Model | Entries written through the API may carry keys the model does not declare. Leave it off unless a developer asks for it. |
| Enable Cache Rewarm | Capa should refresh this model's cached reads after a publish. Depends on your plan. |
The new model has one field already: a required title. It appears on Models marked Draft until you first save its fields.
Add fields
- Open the model's ⋯ menu on Models and choose Edit fields. The entry editor opens in field-editing mode, showing the model's fields in cards.
- At the bottom of a card, choose Add field, then pick a type.
- The field's settings open. Set its Name. The Namespace follows the name until you change it.
- Choose Done.
- Add the rest of your fields the same way.
- Choose Save fields in the top bar.
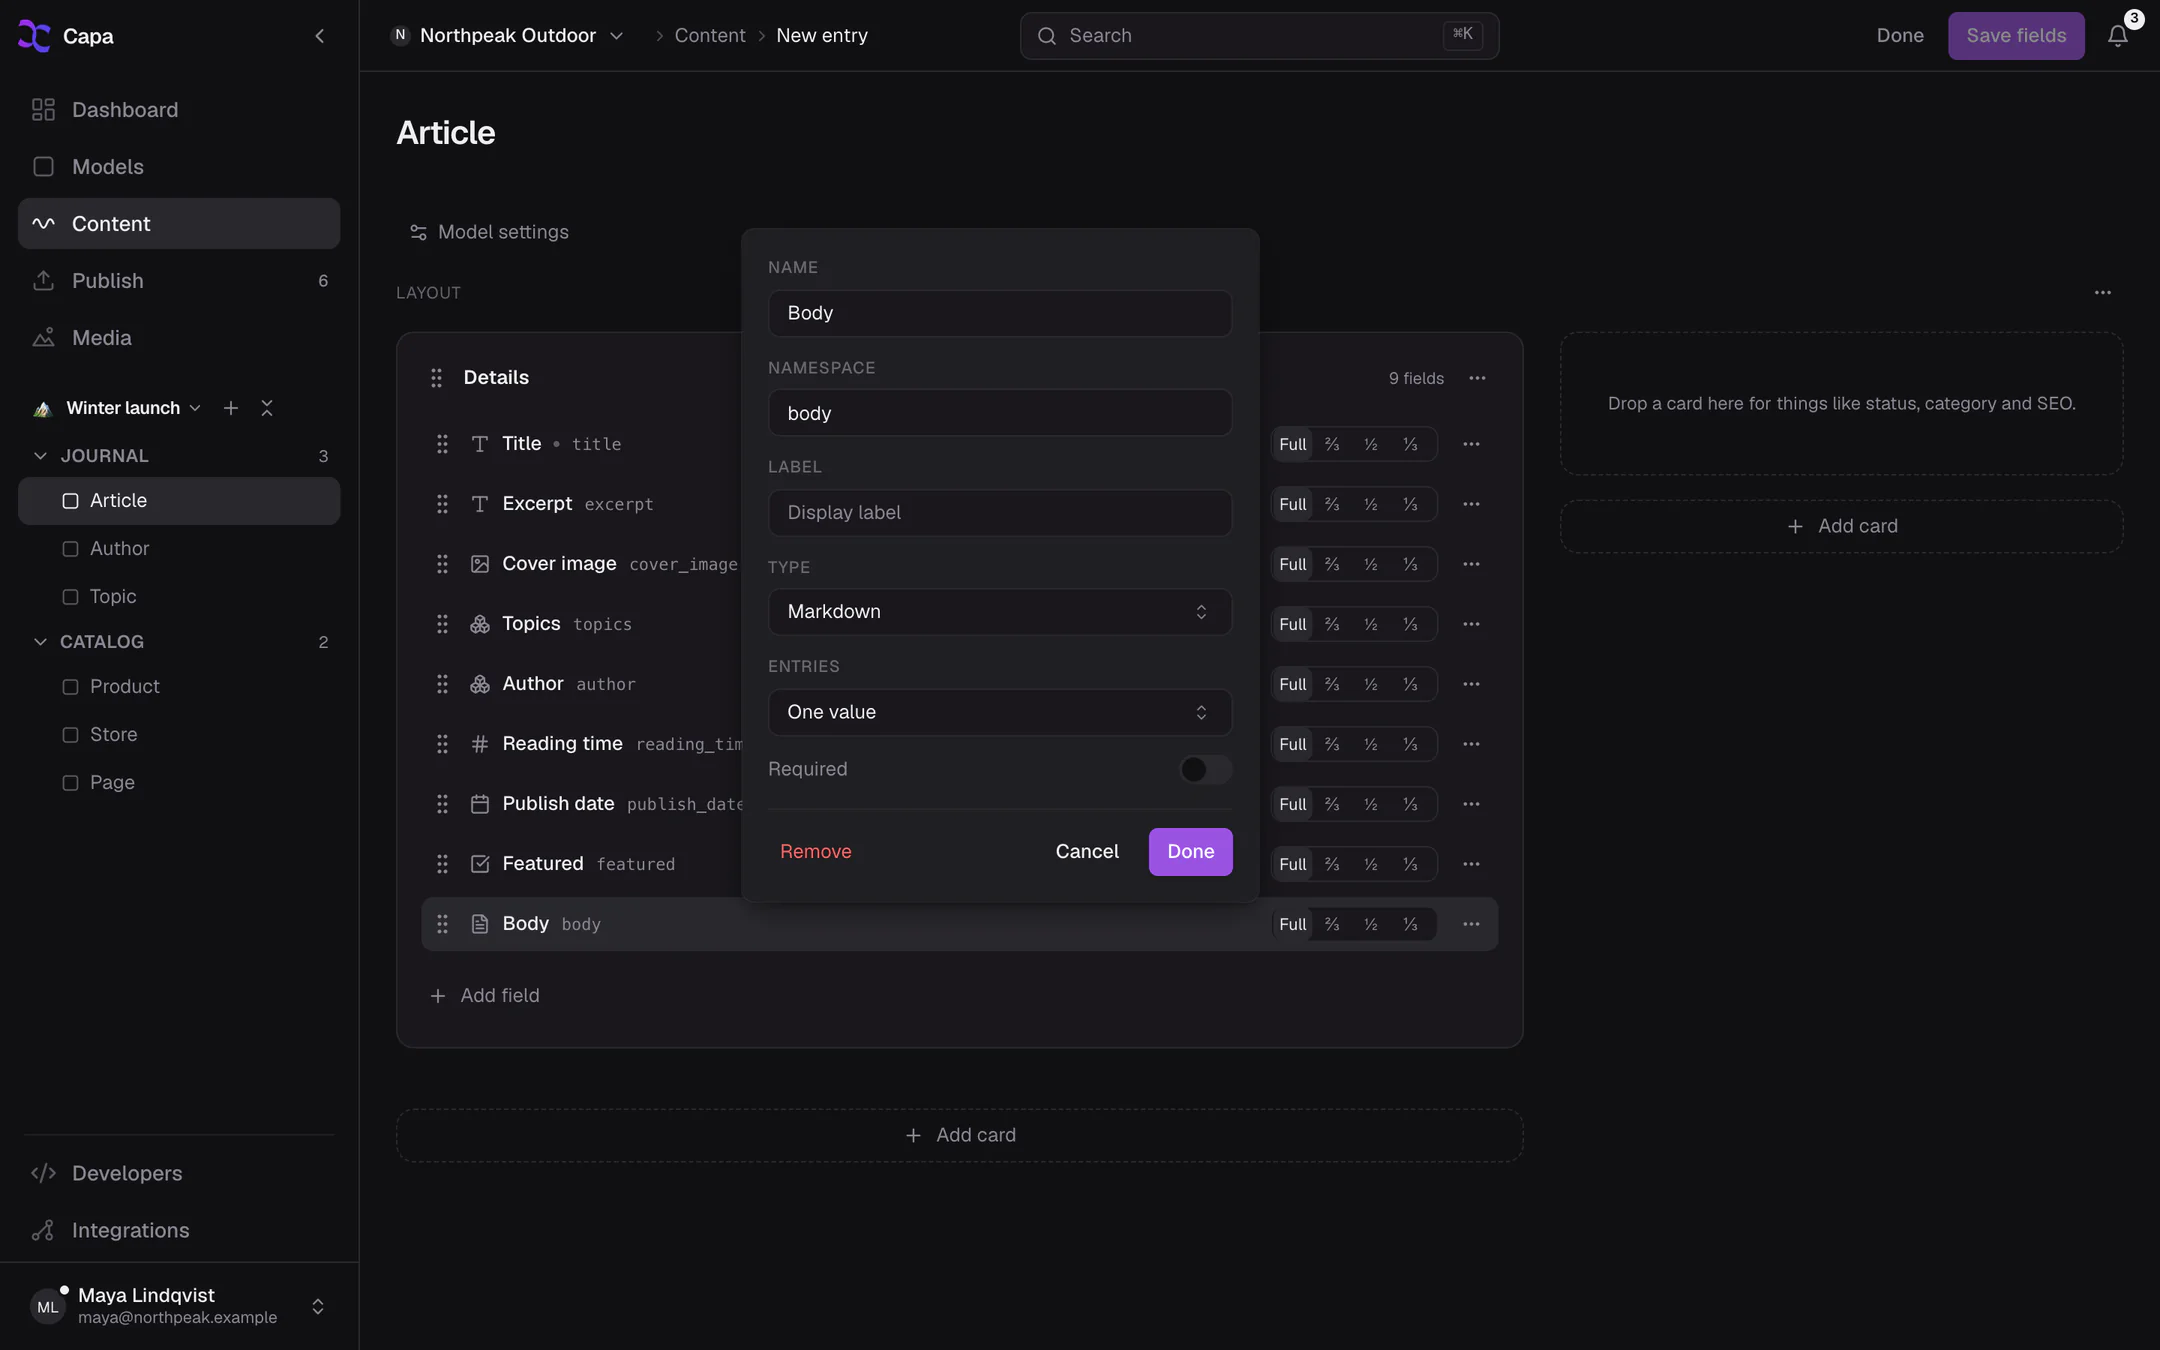
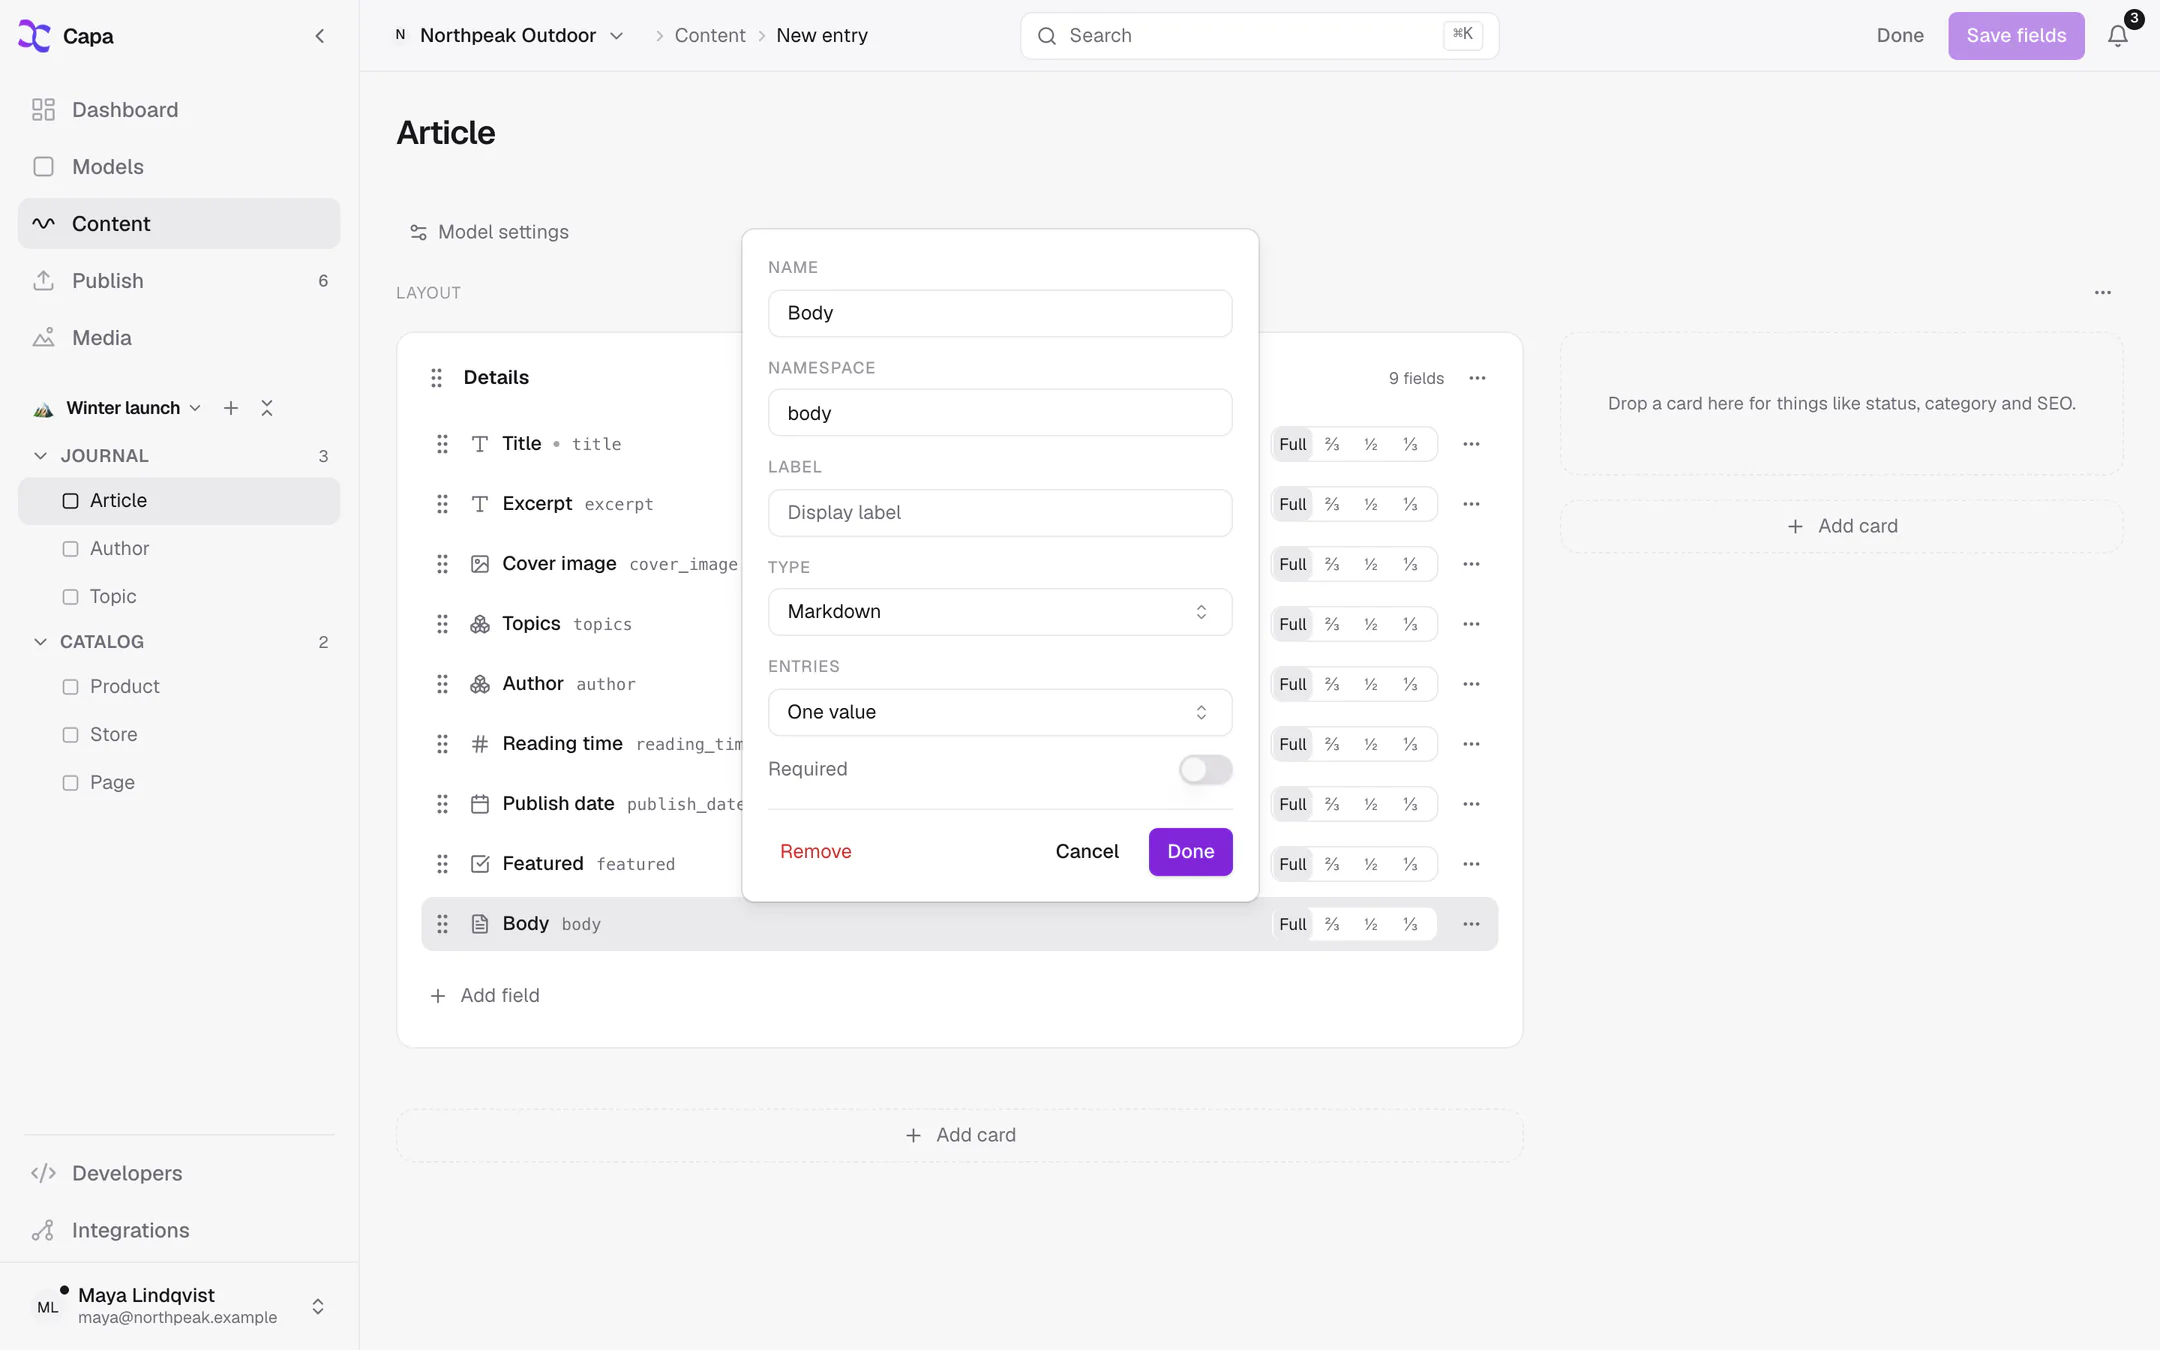
Nothing is saved until you choose Save fields. Done only closes a field's settings. If you leave with unsaved fields, Capa asks whether to save them.
You can also reach field editing from any entry of the model: press ⌘. (Ctrl+.), or choose Fields in the entry's details panel.
Field settings
| Setting | What it does |
|---|---|
| Name | What editors see. |
| Namespace | What the API returns the value under. Unique within the model. |
| Label | An optional longer label. |
| Type | The kind of value. |
| Entries | One value, or A list of values. |
| List of | For a list, the type of each item. |
| Related model | For a Model field, which model it links to. |
| Options | For an Options field, the choices editors pick from. |
| Required | An entry cannot be saved with this field empty. |
There are no unique, default, minimum, maximum or pattern settings.
Link models together
To give an article an author:
- Create the
Authormodel first. - In
Article, add a field with the Model type and name itAuthor. - Under Related model, choose Author.
- For several authors, set Entries to A list of values.
- Choose Done, then Save fields.
A model can link to itself, for example a page with a parent page.
Editors then pick an author from a list, or create one without leaving the article. To show the author's own fields inside the article form, set the field's Display in the layout builder.
Store its fields inside this entry is an older way to embed, which copies values into the entry instead of linking. Prefer a link.
Arrange the editor
The cards, columns and widths editors see are the model's layout. Set them up in the same field-editing mode. See Layout builder.
Model settings
In field-editing mode, choose Model settings above the fields to change:
- Model name.
- Namespace. Your code's reads of the old namespace stop working at once, with
404 model_not_found. - Route and Slug field: the page of your site that shows an entry, such as
/blog/[slug]. Preview uses it to open the right page. - Pass through into parent forms by default: models that link to this one show its fields inline, instead of a link.
Choose Update to save.
Categories
Categories group models on the Models page. Filter by one with Category. To add, rename or delete categories, open that filter and choose Manage categories. Deleting a category leaves its models alone.
Duplicate a model
Choose Duplicate in the model's ⋯ menu. The copy is named "Article Copy", with its fields and layout but no entries. Its namespace ends in _copy_ and a number: change it in Model settings before anyone uses it.
Delete a model
Choose Delete in the model's ⋯ menu and confirm.
404 model_not_found from then on.After your team starts writing
Once a model has entries, adding a field, rearranging the layout, renaming a field and changing Required still save at once. Changing a field's type, namespace or related model opens a review first, and so does removing a field. The review shows what happens to the stored values before anything changes. See Change a field's type.
Related
- Content model: field types and relations.
- Layout builder: cards, columns and widths.
- TypeScript: types generated from your models.