 Capa
CapaMedia
Upload images, video and documents, write alt text, replace and delete files, and how images are resized for your site.
Media in the sidebar holds every file in the project: images, video, audio and documents. Entries use them through image, video and file fields.
Upload files
- Choose Media, then Upload.
- Drag files onto the panel, paste them with ⌘V (Ctrl+V), or choose Click to Select Files.
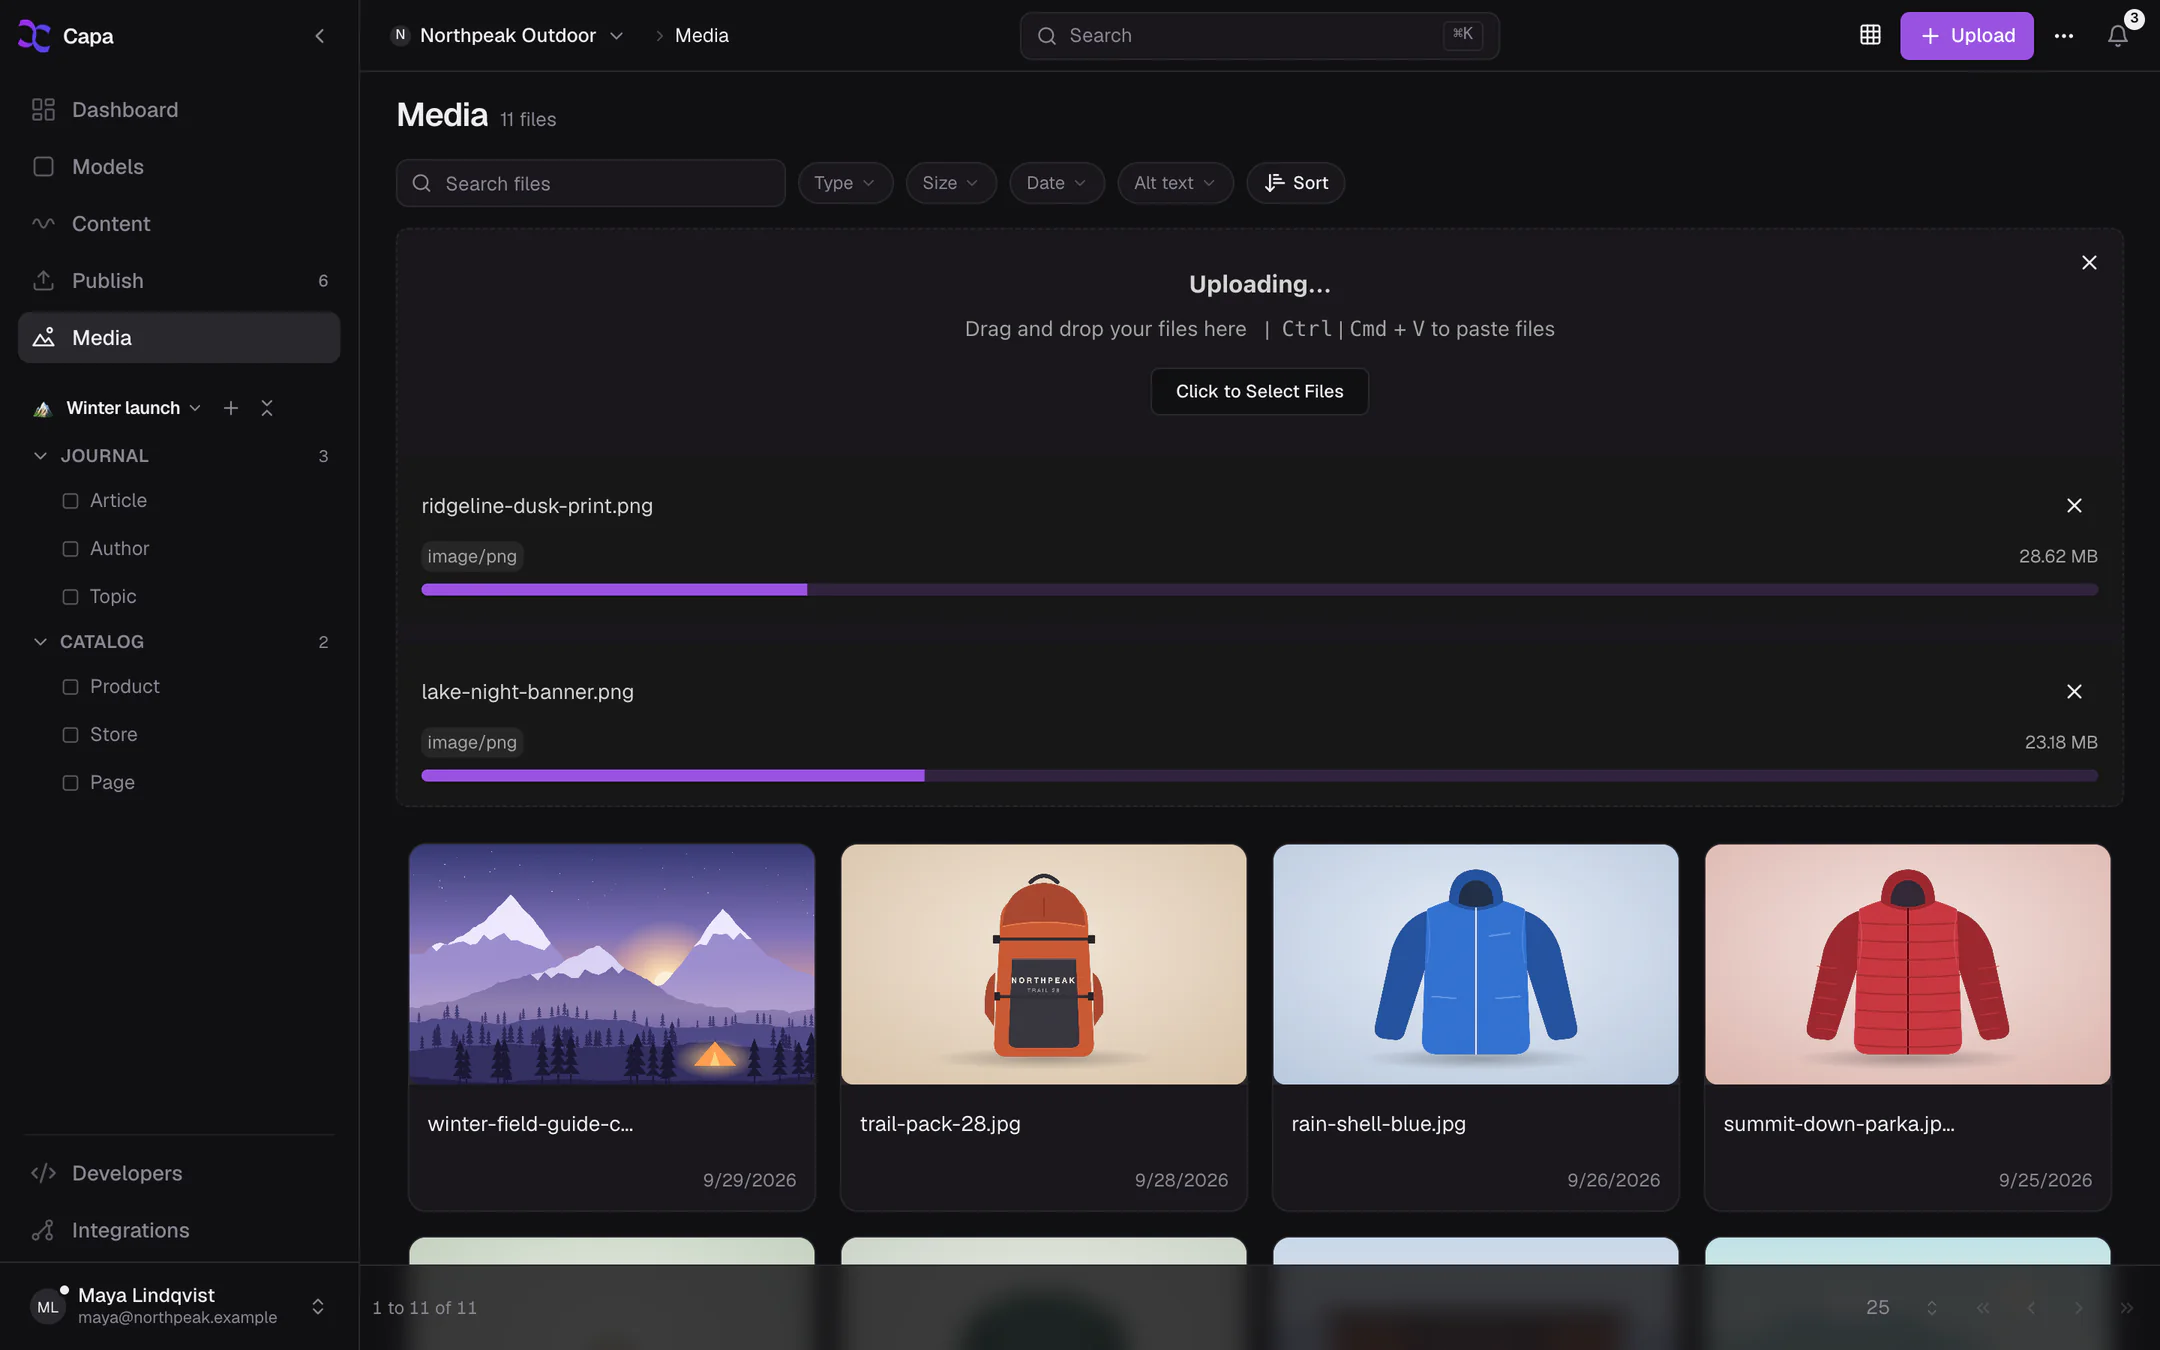
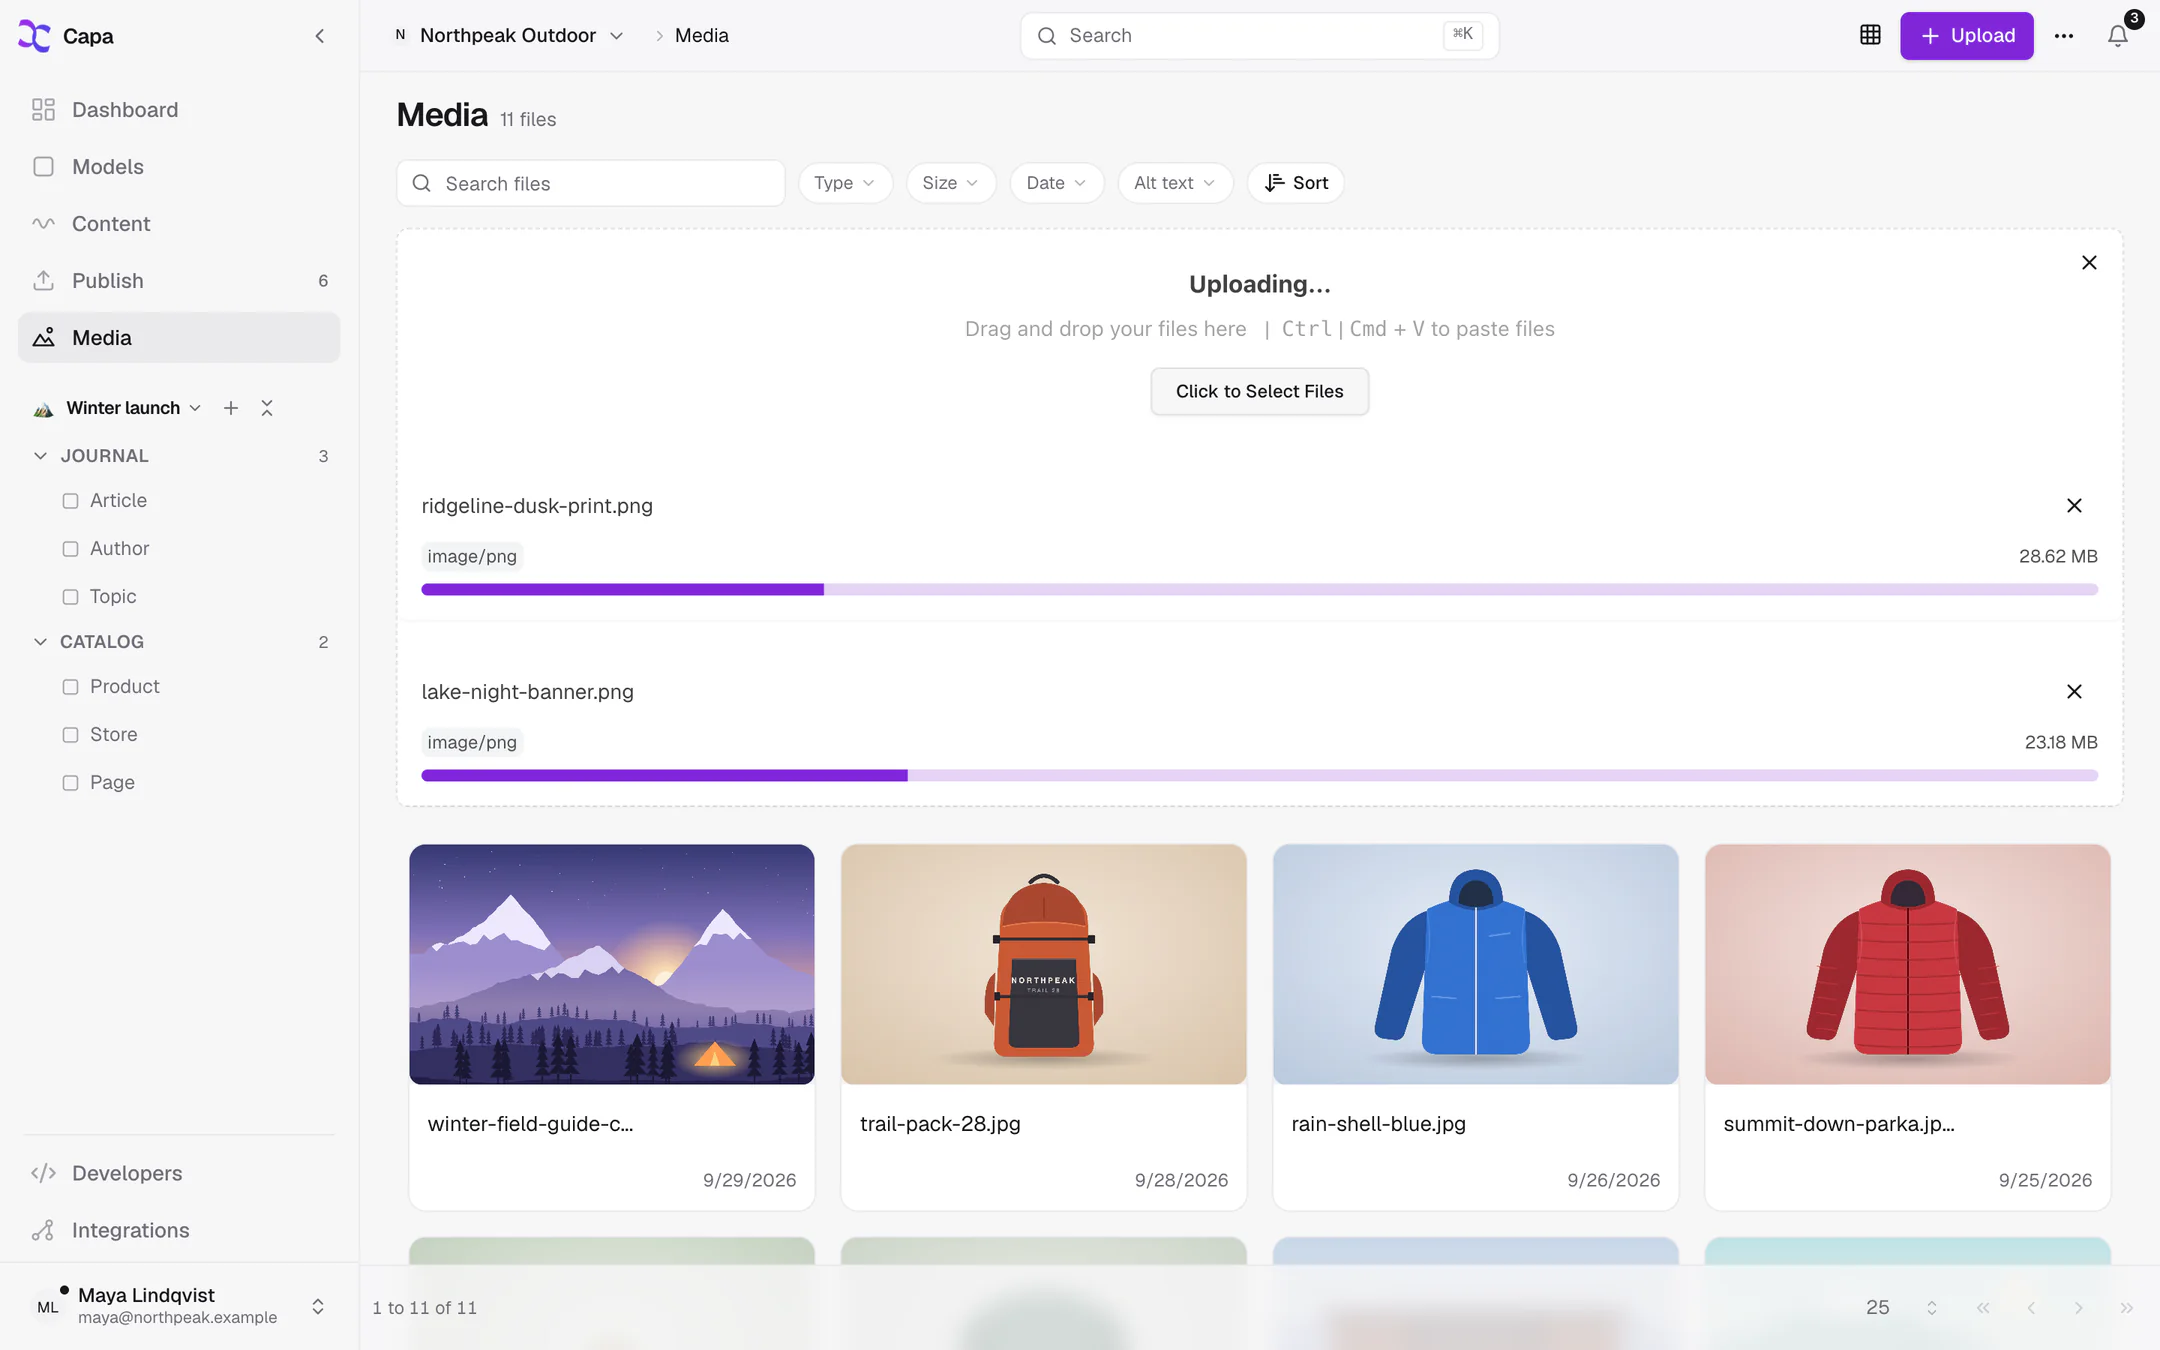
Each file shows its progress, with a button to cancel it. Files go into the media folder you have open.
| Kind | Accepted |
|---|---|
| Images | JPG, PNG, GIF, BMP, WebP, AVIF, SVG |
| Video | MP4, MOV, WebM, MKV, AVI |
| Audio | MP3, WAV, OGG, FLAC, M4A, AAC |
| Documents | PDF, TXT, CSV, DOC, DOCX, XLS, XLSX, PPT, PPTX |
- A file can be up to 800 MB. Text and CSV files can be up to 16 MB, and SVGs up to 8 MB.
- HEIC photos from an iPhone are not accepted. Export them as JPG first.
- A file's contents must match its extension.
- Your plan sets how much the project can store in all. When there is a limit, a meter at the top of Media shows how much is used.
You can also upload straight from an entry's image or file field. Those files go to the top level of the library.
Find files
- Search files matches file names.
- Filter by Type, Size, Date and Alt text. No alt text finds the images that still need a description.
- Sort by upload date, newest or oldest first.
- Switch between Grid View and List View.
Click a file to open it full screen. Use the arrow keys to move between files, + and − to zoom, and Esc to close. File Details shows its size, type, alt text and URL.
Write alt text
Alt text describes an image for people who cannot see it, and for search engines. Write what the image shows, in a sentence.
- One file: open its menu, choose Edit file, fill in Alt Text, and choose Update.
- Many files: open More actions at the top of Media, turn on Quick edit, write alt text beside each file, then choose Save All.
How alt text reaches your site
When you pick an image in an entry, its alt text is copied into the entry. After that the entry's own alt text is what your site gets.
So changing alt text in Media updates only the entries whose own alt text is empty. To change it everywhere, edit it in each entry too.
Copy a file's URL
Open the file's menu and choose Copy media URL. Every file has a public URL on Capa's CDN:
https://cdn.capacms.com/files/winter-field-guide-cover_1759302000000_3f9c1a7b2e4d.jpgAnyone with the link can open the file. Do not upload anything that must stay private.
Replace a file
Open the file's menu and choose Replace file. Upload a new file or pick one from the library, compare Current and New, and confirm.
The URL stays the same, so every entry that uses the file points at the new one. Capa's CDN can keep serving the old file for a long time, and a visitor's browser may too. If the change must show, upload a new file and pick it in the entries instead.
See where a file is used
Open the file's menu and choose View references. It lists the entries that use the file.
Delete a file
Open the file's menu, choose Delete file, and confirm. The file is removed for good.
Entries that used it keep its old address, which no longer works, so their image breaks. Check View references first, and pick another file in those entries.
Folders
Media folders appear in your sidebar workspace, not on the Media page. To show one, choose Add media folders… in a workspace folder's menu.
To move files, drag them from the grid onto a media folder in the sidebar. See Navigating the admin.
Automatic resizing
You upload one large original. Your site asks for the size it needs, and Capa makes it on the fly: smaller, cropped, or in a lighter format such as WebP.
There is nothing to do in the admin. Upload the best original you have. Developers can read how in Images.
Who can do what
Everyone can view media. Admins, developers and the Content role can upload, edit, replace and delete.